We've been in our new place for over four months now. You'd never know it by looking at the way it's decorated. I'm starting to get a little grumpy with its overall state of un-decoratedness. And I'm definitely getting past the point of being able to use the excuse "we just moved in." So, I've been making our place a priority the past couple of weeks. The progress is slow, but I do have an amazing project to share.
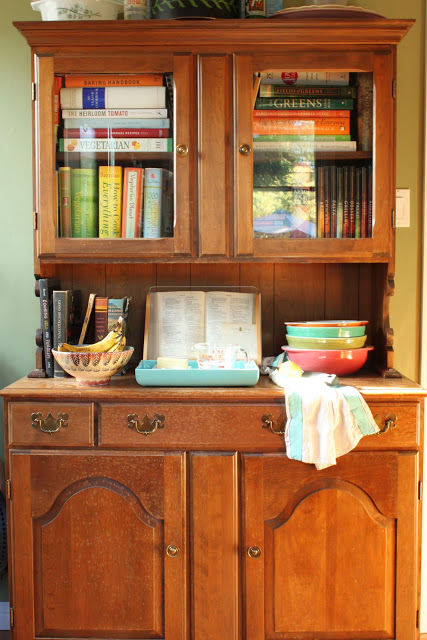 |
| Hutch Before |
This hutch was my grandmother's. Probably from the late 1950s. It sat in my grandparents' house for as long as we can all remember. It's not anything particularly expensive or fancy, but it definitely has good bones. I don't have much from my grandmother, so this piece is very special to me. Although I liked the wood finish, it was a little beat up (mostly from me using it as extra counter space in our previously tiny kitchen) and was begging for some TLC.
 |
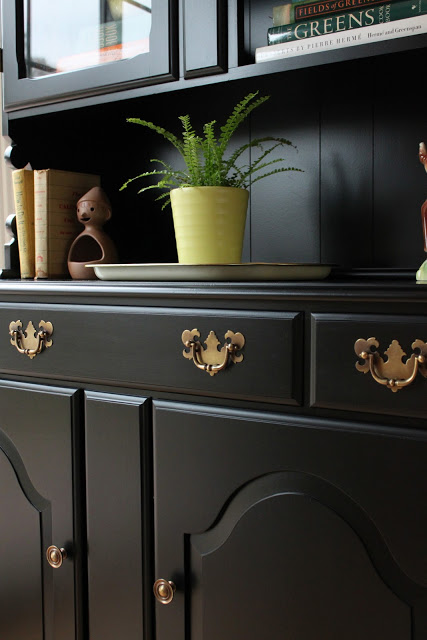
| Hutch After Painting |
 |
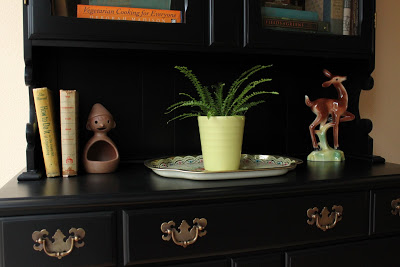
| Hutch After Styling |


UPDATE: For those of you who requested more information on the painting process, here you are!
1) The hutch was first sanded to remove the existing finish.
2) Then it was primed. One coat with the sprayer. My dad used an oil-based primer and tinted it with black oil-based paint. (He wasn't sure how much black he added. Just dump some in.)
3) The piece was given a bit more sanding.
4) Then a single coat of Rustoleum oil-based satin black paint. About 10-15% paint thinner should be added to work with your sprayer.
That's it! My dad has a Graco HVLP sprayer with a "3 stage turbine." He thinks he used the "#4 nozzle." His biggest piece of advice - use a good sprayer. His model costs about $500 or $600.
Hope that helps! I sure am lucky to be able to outsource painting jobs like this. If you're handy and crafty, I'm sure you can do it yourself. But you can also hire painters to do the job, too.
Let me know if you have any more questions.
If you need help resurrecting or customizing an old piece of furniture, please call me at 650.867.3896, or shoot me an email at kelly@storyandspace.com to discuss your project.