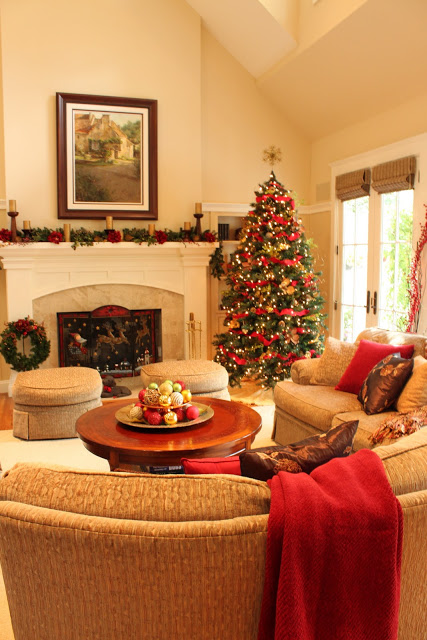
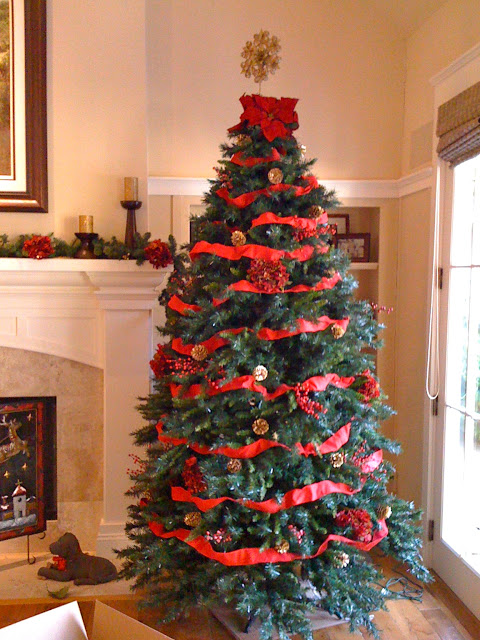
This is my clients' home. Every year, for the past seven years, I've been decorating their home for the holidays. The first year I decorated, they purchased an artificial Christmas tree. Although I am partial to real trees for many reasons, there are definitely some advantages when it comes to decorating a tree of the man-made variety.
Now, there isn't just one way to decorate a tree - artificial or real - but over the years I have learned a few tricks of the trade.
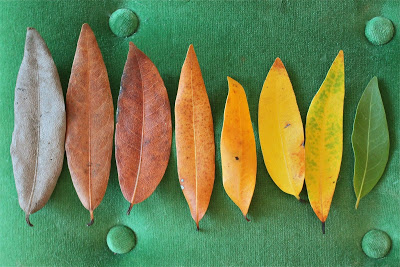
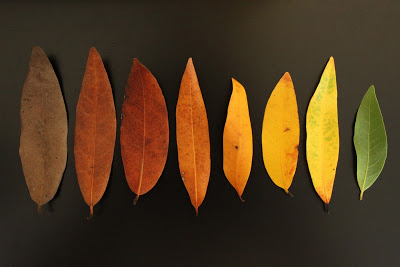
 |
| Photos ©Vanessa Stump |
Some of these tricks I picked up while working for Susie Coelho back in my early days of photo styling, as shown above. And many of them I have learned through trial and error. But there's always more to learn. So feel free to share your favorite tree decorating tricks here and hopefully we can all come away with a few extra styling skills.
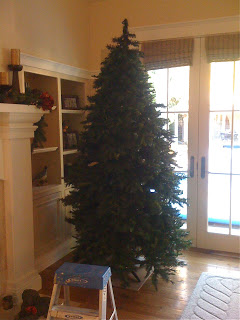

1) Get a Pre-lit Tree
This tree is pre-lit. If you're going to purchase an artificial tree, I highly suggest getting a pre-lit one. It saves a ton of time not having to string the lights.
2) Straighten it Out
Take the time to straighten and manipulate the branches. These trees get crammed into boxes and look anything but natural if you don't help them out a little. But don't straighten the branches too much because real trees have their flaws. You're not trying to achieve perfection, just a more "natural" look. Although this step is kind of a pain, it's actually a decorating benefit to have wired branches that you can twist and turn into whatever direction you need.
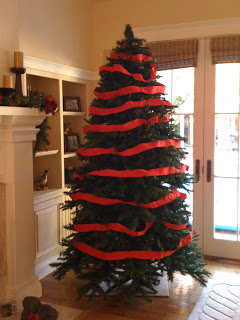
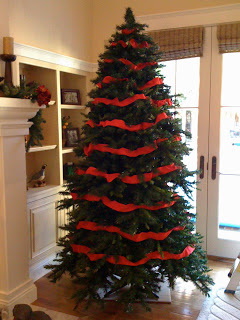
3) Just Add Ribbon
Begin the decorating with thick wired ribbon in a color that will stand out against the dark green branches. The past few years I've used 3" wide red ribbon, but other hues will work great, too. This tree is about 9' high and uses three large rolls of ribbon. It's tricky to get the spacing right, so I first loosely lay the ribbon on the tree branches, as shown in the second photo. You will need to step back and examine the tree at all angles to make sure the ribbon spacing looks right. No steadfast rules here - you'll know if it looks off.
4) Work the Ribbon
After the spacing is tweaked, I begin working the ribbon into the branches of the tree. This is where you will be very happy you have wired ribbon! You want to make it look flowy - not too contrived - but also balanced. This is not an easy task, so give yourself lots of time. And keep stepping away from the tree to see how it's coming. (You will be doing a lot of this. Count it as your workout for the day.)
5) Top it Off
Get that tree topper on. Many of you probably wait until the very end to top the tree, but I like to put the topper on early in the decorating. Maybe because it gives me a sense of accomplishment? It's kind of a milestone when I know I still have a long way to go.

6) Stuff with Branches
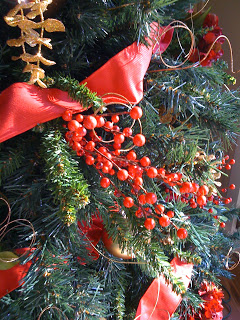
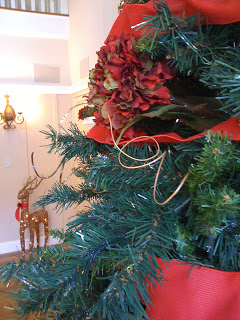
Real or artificial, I love stuffing a tree with branches. This year the branches were artificial, but you can use real greens and berries, too. A favorite trick if you are using an artificial tree and miss the smell of pine, is to plug the tree with real pine branches or eucalyptus leaves. Either will create a beautiful smell in the house - much better than those pine-scented plug-in air fresheners. Here I've started with some artificial berries and red hydrangea flowers from Michael's.

7) Even Distribution
When introducing the branches, make sure that the different types are distributed evenly. You don't want all your red berries at the bottom, for example. Color and texture in general should always be evenly distributed. Again - lots of stepping back and assessing at all angles.
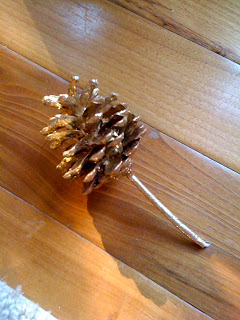
8) Sparkle, Sparkle
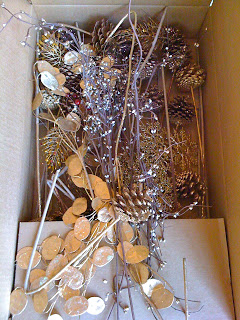
It's always good to add some sparkle. This is a collection that I've created for my clients over the years of gold pinecones, berries and eucalyptus. The pinecones typically come on large sticks which are too long to use at the top of the tree. Snip off a few so you can use them at the narrowest part of the tree without looking like you're trying to play a game of Kerplunk. (Ummm...does anyone remember this game?)
9) Fill in the Holes
Again, distribute each type of branch as evenly as you can. You'll start to eventually see where the "holes" are and it will get easier to place your decorations.


10) Extra Topping
If you want to add a little extra topper, stick a few flowers or ribbon at top of the tree. I used artificial poinsettias because I had them on hand. I could have used hydrangeas, but I didn't have any leftover. Sometimes you gotta use what you have!
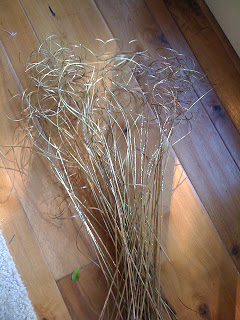

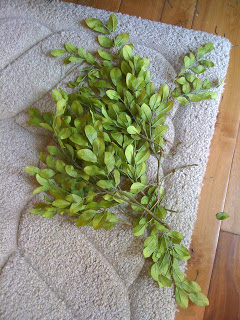

11) More Texture and Color
For more depth, texture and sparkle, keep adding different types of branches. I love using the bright green leaves because it gives the tree a very fresh appearance...and those painted sparkly gold sticks are a must-have for any tree, in my opinion. Again, just keep plugging away and stepping back. And when you think you've added enough and there's just no more holes to fill, add a few more. You might need to tear the branches into smaller pieces so you don't get a clumpy look...and also so you can stick a few proportionately sized sprigs at the top.

12) Keepin' it Real
One thing you want to make sure you do is to plug in the branches, flowers and whatever else you are decorating with, at different depths. I usually like to have the gold branches stick out of the tree a few inches, while the flowers I keep more flush to the edges of the tree branches. This creates a more whimsical effect and a more "natural", imperfect feel.
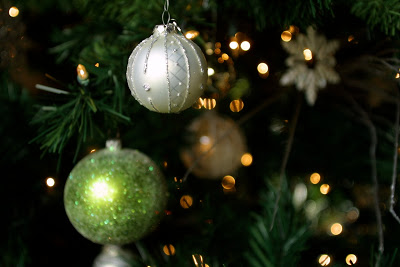
13) Hang the Ornaments
The final decorating step for me is adding the ornaments. I have just used colored ball ornaments here, but obviously you can use other types. Try to stick with the same color scheme you've already established so it doesn't get too hodge-podgy. (If you like hodge-podge, by all means, disregard this suggestion. Sometimes sentiment wins out over coordination.) I prefer to use ribbon hangers as opposed to the traditional wire hangers (thanks in part, I'm sure, to my early exposure to the film Mommie Dearest.) Yes, it's slightly more time consuming, but I like the look. And with the artificial tree, you can manipulate the wire branches so the ornaments are super secure.
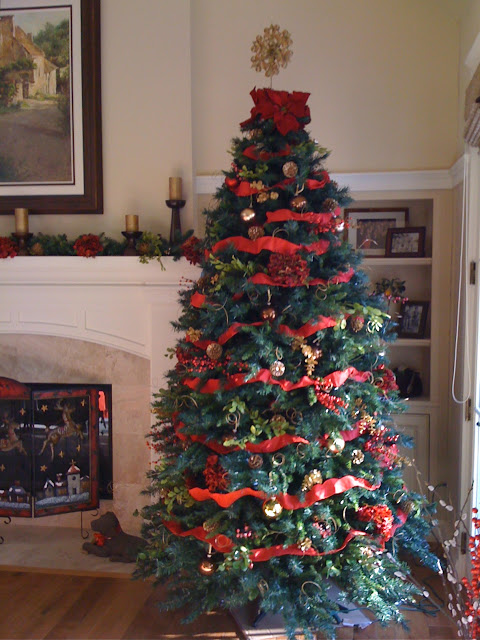
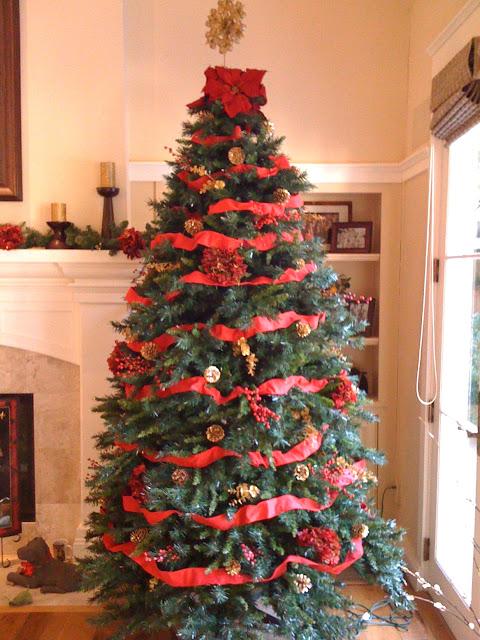
And here's the final tree! (It's an iPhone photo...scroll down for pics with the "real" camera.)
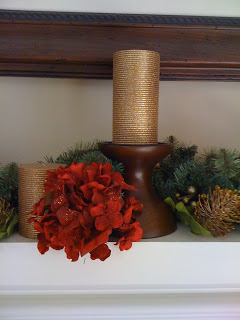
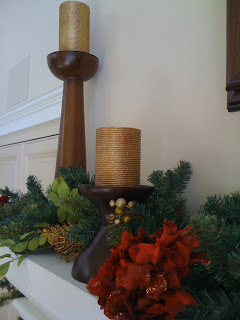
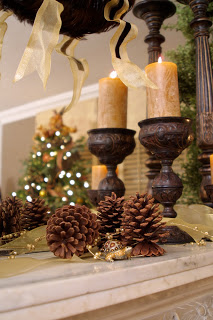
Another styling trick: Use consistent colors, textures and materials from the tree for adjacent areas of the room you are decorating. As shown, I used the same red hydrangeas, green leaves and gold sparkles on the mantle to create a continuity throughout the room.
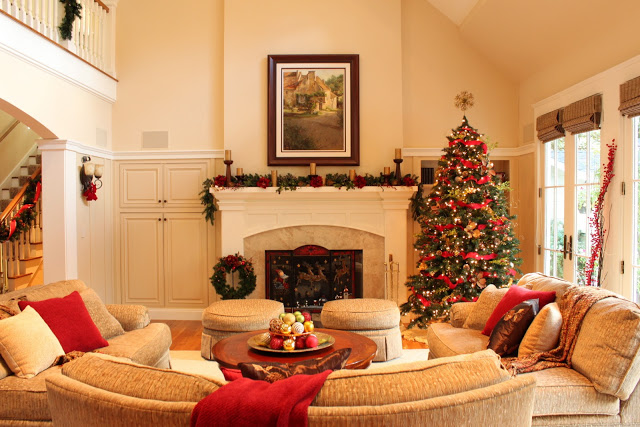
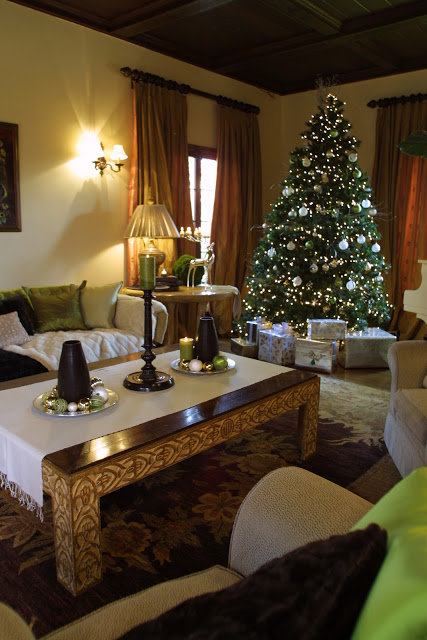
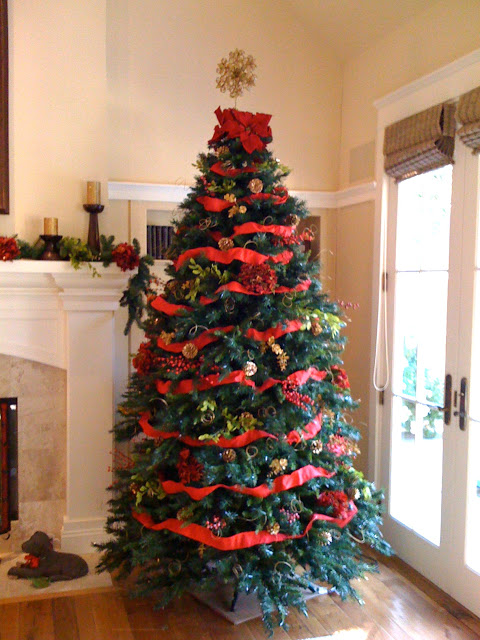
And here's some final photos from last year's styling. My clients are having a big party this year, so all the furniture is removed from the space. Not ideal for taking after shots. But the tree is still just as lovely.
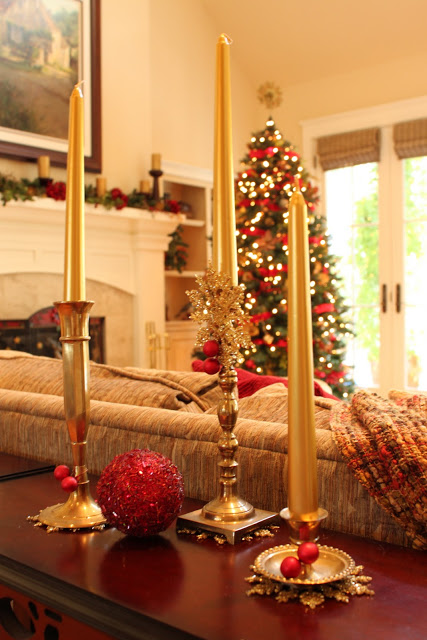
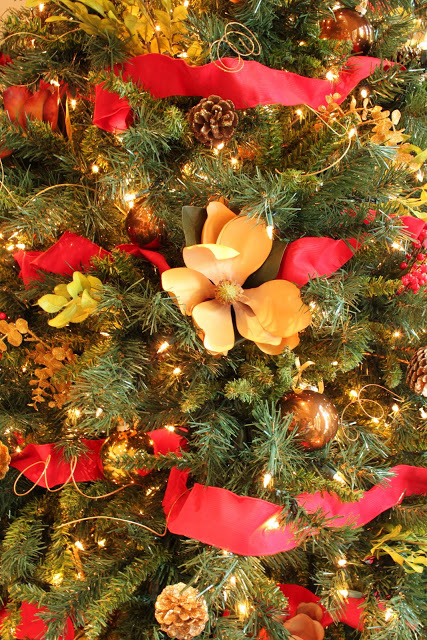
Last year I plugged in some magnolia flowers - they work great, too. See? No hard rules. There's a million variations for holiday decorating. Maybe even more.
Now, I'd love to hear your decorating tricks. Please share here or on my facebook page. Photos are encouraged!